Video: How to Replace Coleman One-Piece Filler Cap Seals
Why replace Coleman lantern fuel cap seals? Coleman lanterns and stoves were built to last a long time, meaning that there are millions of them still in the field, often with rubber seals that go bad after years of rough use or neglect. The reason that matters to you, is that nothing puts a damper on a camping trip, like sitting around in the dark because your lantern or stove won't stay lit. Equally annoying is when you have a lantern that lights, but constantly loses pressure, leaving you to pump it up every few minutes. Just replace those old fuel cap seals before you need to use your lantern. It is cheap peace of mind to know that when you're out camping or when bad weather strikes, your gear is ready to go to work.
Replacing the seals in one-piece Coleman lantern filler caps is a task that has left many an outdoor enthusiast scratching their head. We promise to make a better video soon, but a customer asked us to show him how it's done, so we rattled off this quick and dirty how-to.
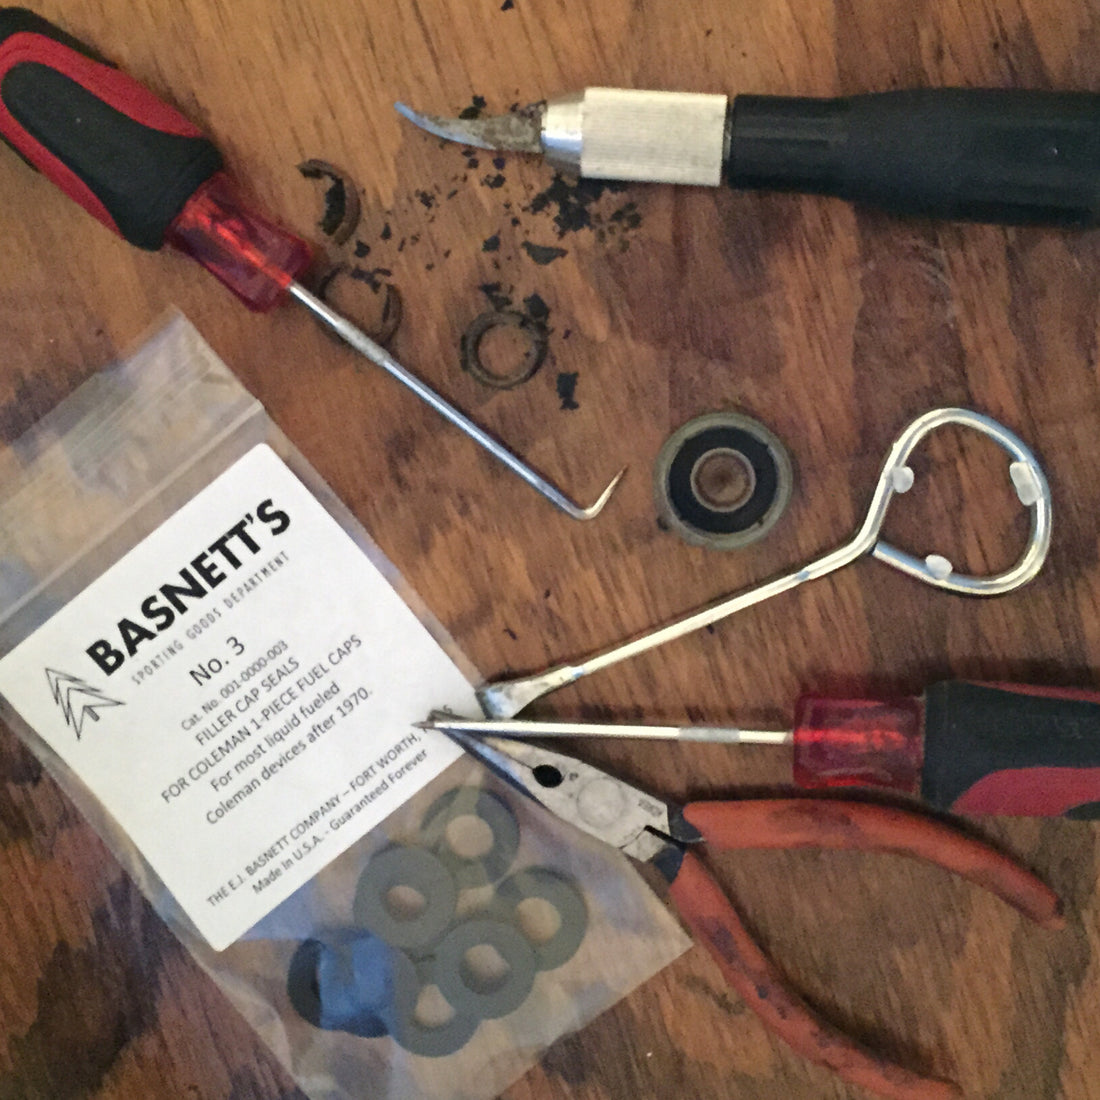
The required tools are simple, you need a pack of Basnett's No. 3 Filler Cap Seals, a couple small picks or screwdrivers, and a sharp knife. You don't need any fancy tools- I once changed a cap seal on a camping trip using just a pocket knife! So, until our more elegantly crafted video is produced, we hope you'll find this video useful.
Once you're done removing your old cap seals, you can check out our video on installing new seals in the Coleman one-piece fuel cap.
Always happy to answer questions!
-Enoch Basnett

3 comments
Use some
Good quality gloves when
Working with sharp tools
I’ve only replaced one seal on a one piece cap. Not easy but I got it done. I would have never thought of using a paint can opener as a tool.. great how to video….
That’s most Def a “SOLD PM SENT”
Nice work ….